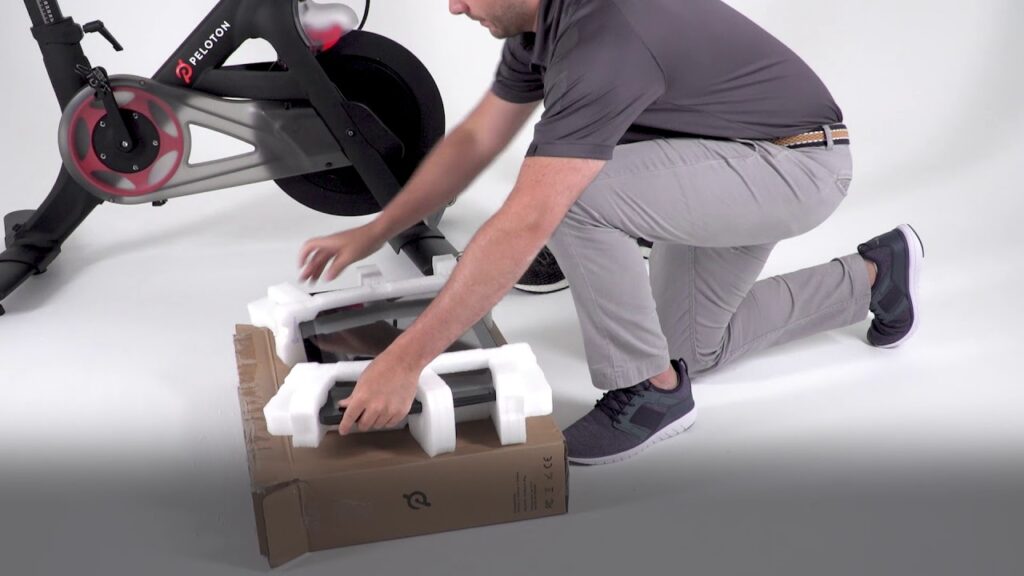
Disassembling a Peloton Bike for relocation may seem complicated, but with the right steps and tools, you can ensure a hassle-free process. Whether you’re moving across town or to a new state, handling the bike properly helps prevent damage during transit. By carefully powering down the bike, detaching the screen, and disassembling key components, you can make the process efficient. If you’re using affordable moving services, taking the bike apart beforehand can simplify transportation and reduce the risk of damage. Follow these steps to safely disassemble and prepare your Peloton for the move..
Gather Necessary Tools and Supplies
To disassemble a Peloton Bike efficiently, gather the necessary tools and supplies before beginning the process. You will need a set of Allen wrenches, a pedal wrench, a rubber mallet, a pair of pliers, and a clean cloth. Make sure you have a flat surface to work on and enough space to lay out the components as you dismantle them. Having a small container or bag to keep the screws and smaller parts organized is highly recommended. Besides, having a power screwdriver can save time during the disassembly. Before starting, make sure to unplug the bike and remove any accessories or personal items. By having all the tools and supplies ready, you will streamline the disassembly process and prevent any delays.
Disconnect and Remove the Screen
Start by powering off the Peloton Bike and locating the screws securing the screen. Use a screwdriver to carefully remove them, taking care not to scratch the screen or damage nearby components. Once the screws are out, gently detach any cables or connectors linking the screen to the bike’s console. It’s a good idea to take a quick photo of the wiring setup to assist with reassembly later.
After disconnecting the cables, lift the screen away from the bike frame and place it in a secure, padded location. Avoid applying pressure to the cables during this step to prevent damage. The screen is now ready for safe transport while you continue disassembling the bike.
Loosen and Remove the Pedals
Loosening and removing the pedals on a Peloton Bike requires specific tools and a methodical approach to guarantee a smooth disassembly process. To begin, you will need a pedal wrench, typically a 15mm wrench, or in some cases, an Allen key. Locate the right pedal, which tightens clockwise, and the left pedal, which tightens counterclockwise. Place the pedal wrench on the pedal spindle, ensuring a secure fit, and turn it counterclockwise to loosen the pedal from the crank arm. Once loosened, continue turning the pedal until it can be removed by hand. Repeat the same process for the other pedal. Remember to keep track of any washers or spacers that may come off with the pedals for reassembly.
Release and Lower the Handlebars
Lowering the handlebars is an essential part of the disassembly process. Use an Allen key to loosen the bolts that secure them to the bike frame. Follow these steps for a smooth adjustment:
- Locate the bolts on the front of the handlebar stem.
- Insert the Allen key and turn counterclockwise to loosen them.
- Gently lower the handlebars toward the bike frame.
- Ensure they are positioned securely before moving on to other steps.
Lowering the handlebars makes packing and transportation more manageable, minimizing the risk of damage.
Detach and Pack the Bike Frame
To detach and pack the bike frame securely, make sure all components are properly secured and tools are readily accessible for the disassembly process. Start by removing the pedals using a pedal wrench, turning counterclockwise. Next, loosen and remove the bolts holding the seat post in place. Once the seat post is free, carefully slide it out of the frame. Proceed by detaching the handlebars from the frame using an Allen key to loosen the bolts on the stem. Remember to keep all bolts and small parts in a labeled bag for easy reassembly. Finally, use an adjustable wrench to disconnect the stabilizer bars from the frame. Protect the bike frame by wrapping it in moving blankets or bubble wrap before placing it securely in a box for transportation.
Related Articles:
