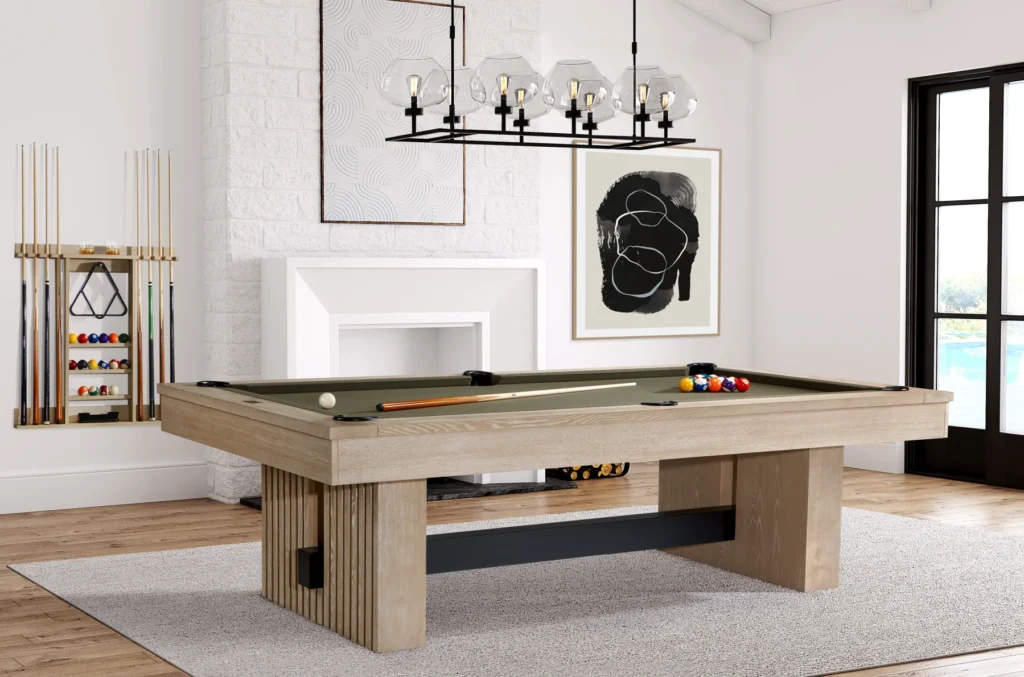
How to Move a Pool Table: The Right Way to Protect Your Investment

Moving a pool table requires expertise and careful handling to prevent damage to this substantial investment. Many homeowners choose to work with a dependable moving company rather than risk damage to their valuable billiards table during a DIY move. Whether relocating across town or to another state, properly transporting a pool table involves more than simply lifting and carrying—it requires methodical disassembly, meticulous protection of components, and precise reassembly. Pool tables typically weigh between 700 and 1,000 pounds, with the slate alone accounting for much of this weight. Their size, heavy components, and precise construction make it particularly challenging for them to relocate without proper knowledge and equipment. This comprehensive guide outlines the essential steps to ensure your pool table arrives at its new location in perfect playing condition.
Assessing the Moving Route
Before relocating a pool table, carefully evaluate the route it will be transported to ensure a smooth and successful relocation process. Begin by measuring all doorways, hallways, and staircases to ensure the pool table fits through without issues. Take note of tight corners, low ceilings, or narrow passageways that may present a challenge during the move. Clear the path of any obstacles such as furniture, rugs, or decorations that could hinder the transportation of the pool table. Consider the weight and dimensions of the pool table to determine if specialized equipment or additional help will be necessary. By thoroughly assessing the moving route beforehand, you can anticipate and address potential obstacles, ensuring a seamless relocation process.
Disassembling the Pool Table
To disassemble the pool table efficiently, remove the pockets, rails, and felt covering carefully. Begin by unscrewing the pockets from the table, making sure to keep all screws and parts organized for reassembly. Next, detach the rails by loosening the bolts or screws securing them to the table frame. Take extra care when handling the felt covering; gently peel it off the slate surface to prevent tearing. Once these components are removed, carefully label and store them to avoid misplacement. Keep track of any additional parts or hardware that must be removed, ensuring a smooth reassembly process. Following these steps meticulously will help preserve the integrity of your pool table during the moving process.
Securing and Protecting Parts
Secure and protect the disassembled parts of your pool table by wrapping each component individually in bubble wrap or moving blankets. Start by carefully wrapping the rails, ensuring the wood is completely covered and secure. Next, focus on the slate pieces, the table’s heaviest and most delicate parts. Use thick moving blankets to protect the slate from any potential damage during transport. For the legs, wrap each one separately to prevent scratches or dents. Moreover, secure any hardware or small parts in labeled bags to avoid losing them. You ensure a smooth and damage-free moving process by taking these meticulous steps to safeguard each part of your pool table.
Safely Transporting the Pool Table
Wrap the disassembled parts securely in bubble wrap or moving blankets to prepare for safe transportation of your pool table. When loading the components into the moving vehicle, ensure they are placed snugly to prevent shifting during transit. Use straps or ropes to secure the parts, minimizing any potential movement that could cause damage. Be mindful of sharp edges or protruding pieces that could scratch or dent the surfaces. In addition, consider laying down protective padding on the vehicle floor to cushion the parts further. Drive cautiously, avoiding sudden stops or sharp turns that could jostle the pieces. By taking these precautions, you safeguard your pool table components and guarantee a smooth transport to your new location.
Reassembling and Leveling the Table
Begin by carefully aligning the slate pieces on the frame, guaranteeing a seamless fit before progressing to reassembling and leveling your pool table. Once the slate is in place, meticulously adjust the leveling screws underneath the table. Use a high-quality bubble level to confirm the surface is perfectly flat. Make small, precise turns on the screws, checking the level frequently until you achieve an even playing field. Take time during this process, as precision is paramount for a professional playing experience. After leveling, secure the frame tightly and double-check the alignment of the slate. A well-leveled table not only enhances gameplay but also prolongs the lifespan of your investment.
Related Articles:
